Sketching Birds in Flight: A Beginner's Guide to Quick Gesture Drawings
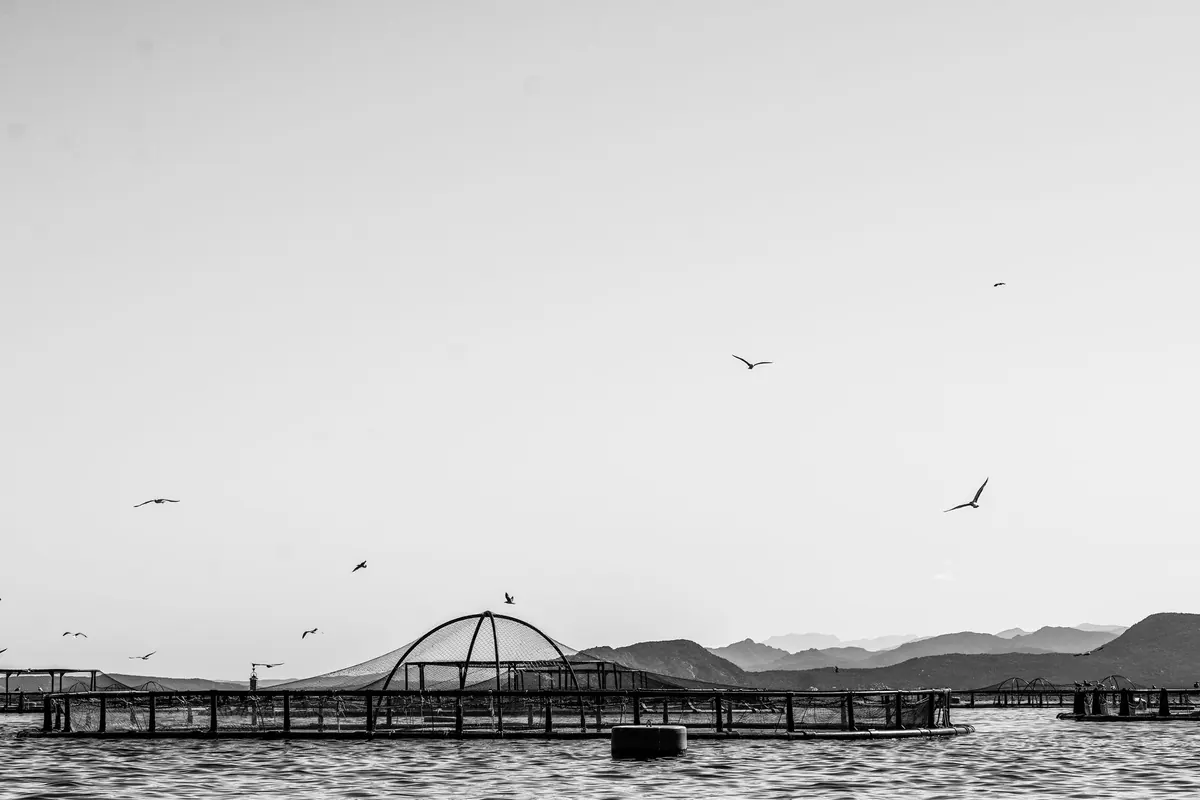
The first time you try to draw a bird in flight, it is gone before your pencil lands. That happens to everyone, and it is not proof that you cannot draw. It is proof that you were trying to draw a bird while it was still there. The better target is the shape of its movement, and a shape takes about two seconds to record.
Gesture sketching is the habit of catching that shape fast and loose. You are not making a finished plate for a field guide. You are making a note your memory can cling to later: how the wings sat, how the body tilted, how the tail opened on the turn. A scrappy page of three-second birds, drawn from life, will teach you more about flight than an afternoon of copying photographs.
Start With the Silhouette, Not the Feathers
Detail is what kills a flight sketch. The moment you decide to draw an eye, a bill, or a line of feather markings, the bird has already crossed the fence line and you have a page with one eye on it.
Think in masses instead. A flying bird is a body, an arc, and a tail. Draw the body as one soft wedge — heavier at the chest, tapering to the rear. Then draw the wing as a single unbroken stroke from shoulder to tip, the way you would draw a comma or a boomerang. Then a triangle or fan for the tail. Three marks, one bird.
Draw larger than feels natural. Beginners sketch a bird the size of a thumbprint, which forces small, tentative, wrist-only lines. Fill a third of the page. Use your whole arm. A big loose shape that is slightly wrong reads far better as a bird than a tiny careful one that is exactly wrong.
A Small Kit That Doesn't Slow You Down
Field equipment should be boring, so your attention stays on the bird. A short list is enough:
- A pocket sketchbook, roughly 5 by 8 inches or smaller, with a stiff cover so you can draw standing up.
- One drawing tool. A 2B pencil or a fine-tip pen. Not a tin of six grades.
- A pen if you are a beginner. It cannot be erased, so it forces you to commit to the shape instead of nibbling at it.
- Something to sit on — a folded mat, a light stool, a dry stone. Sitting still brings birds closer than chasing them ever will.
- Binoculars, if you already own them. Use them to identify the bird after the sketch, not during it.
Leave the big watercolour box at home for now. Colour is a later problem. Flight is a shape problem.
The Three-Second Drill
This is the exercise to run whenever your page starts looking tight and fussy.
- Watch one complete wingbeat before you draw anything. Just look.
- Tap the rhythm of the flaps on your sketchbook with the pencil tip. One-two, one-two. You are learning the bird's tempo before you try to draw it.
- Draw the body line first — a single curve from chest to tail, angled as the bird is angled.
- Add the near wing in one stroke. Do not lift the pen halfway.
- Add the far wing as a shorter, blunter shape behind the body. In most flight angles it is partly hidden, and that overlap is what makes a sketch read as three-dimensional.
- Stop. Do not correct. Start the next bird.
Fill a page with the same bird fifteen or twenty times. The first five will be terrible and the eighteenth will surprise you. That improvement is not talent arriving; it is your hand learning a shape it has now drawn thirty times.
A two-minute warm-up
Before you start on birds, cover a quarter page with loose arcs, C-shapes and spirals, drawn from the shoulder at speed. It sounds like a waste of paper. It loosens the wrist and stops you from starting the session in a careful, scratchy mood.
Four Wing Shapes Worth Knowing by Heart
Bird flight repeats itself within families, and knowing the common silhouettes means you only have to see a bird for a heartbeat to know what to draw.
- Long, flat and slightly raised — gulls, harriers, herons. Slow, deep beats with a glide between them. The wings look like a shallow M from the front.
- The downstroke crescent — crows, pigeons, ducks. Wings sweep below the body line, and the whole bird reads as a wide, dipping curve.
- The bunched upstroke — most songbirds. On the recovery beat the wings pull in tight and the tips rise above the back. The silhouette shrinks and looks almost like a dart.
- The swept-back sickle — swallows, swifts, falcons in a stoop. Wings pulled back along the body, tips pointed behind. Draw the whole bird as an anchor or a scythe.
A fifth pattern is worth noticing even though it is not a wing shape: the bouncing flight of finches, woodpeckers and goldfinches, where the bird rises on a few flaps and dips between them. Sketch the path along the sky first, then hang a bird on it.
Where to Stand, and What to Watch For
Most failed flight sketching is a fieldcraft problem, not a drawing problem. Birds that never come near are impossible to draw; birds that pass on a predictable route are easy.
Find a station with traffic. A pond edge in the evening, a harbour wall, a fence line along a hedge, a street lamp where starlings gather before roost. Sit in one place for twenty minutes and you will start to see the pattern: the same gull working the same line, the same pair of swallows circling the same field. Sketch the route once, loosely, and you can drop birds onto it as they come.
Backlight is a gift. When a bird crosses a bright sky, it becomes a pure silhouette, and silhouette is exactly what you are practising. A dull overcast day is harder than a clear one, because the shape is muddier.
Notes in the Margin
A gesture sketch on its own is a nice scribble. Add three words and it becomes a record. Write the name — or sp.? if you are unsure — and then a short note on the flight itself: "slow deep flaps, two-second glide between." "Erratic, wings never still." "Flew low, straight, tail fanned on landing."
Draw the bird you can see, not the bird you already know.
Those margin notes are what make the page useful in six months, when the scribble has stopped looking like anything and the sentence beside it revives the whole moment.
Ten Minutes a Day at the Same Post
Pick one place you can reach easily and go there at the same time for two weeks. Same bench, same hour, one page per visit. Draw whatever flies. Some sessions will be all pigeons and nothing else; those sessions are still training.
Number the pages and date them. At the end of the fortnight, lay them out together. The last pages will be faster, looser, and more recognisable as birds — not because you learned a technique, but because your eye and hand finally agreed on a shortlist of shapes. Keep a separate page for each species you draw often: a gull page, a crow page, a starling page. Over a season, those pages become a personal field guide to how your local birds move, and nothing in a book will match it.
Photo: Nirjhar Basak / Pexels